Do you have a Squarespace website and want to use it to run your Print on Demand business?
The good news is, by opting to work with Printify as your POD solution, you will get to seamlessly integrate your account with your website, and have the controls you need to build a custom store that is uniquely yours.
If you don’t have a Printify account yet, you can set it up easily for free so that you can start selling and making money with POD.
Here is How to Integrate Squarespace with Printify
Follow these steps to set up your store and automate product lists directly from your Printify account.
Set up Squarespace for Printify Integration
Before we can link your Printify account to your Squarespace website, we need to ensure that there is a valid store page (for now, a draft store is fine) within your site.
1) Create a Store Page on your Squarespace website
If you don’t have one yet or want to set up a different store for Printify, simply follow these steps:
- From your Squarespace website dashboard, navigate to the Pages on the left sidebar.
- Click on Pages to expand. Here, you can find your store page from the list of existing pages, or add a new page by clicking on the plus icon (+) next to the main navigation tab at the top of this pane.
- On clicking to add a new page, you’re presented with different options. Choose Store from the Collections section.
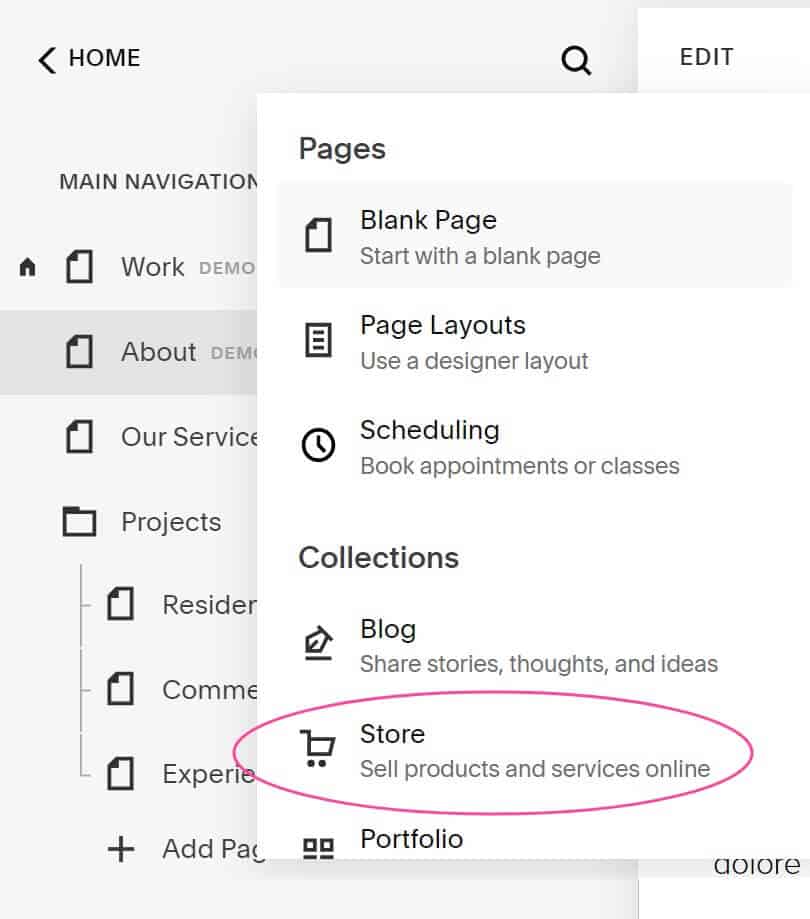
Next, we need to set up our store and make it look nice and conform to our general website brand.
2) Customize your Store Front
When you choose the store option from the collection sections, you are presented with two store design options, Store 1 and Store 2:

Choose one that appeals to you and fits well with your overall design.
Next, you need to clean up and design your store. Squarespace automatically adds default products. You can delete those or edit them with your own details.
The final thing we need to do here before proceeding to Printify is to set up our Store details.
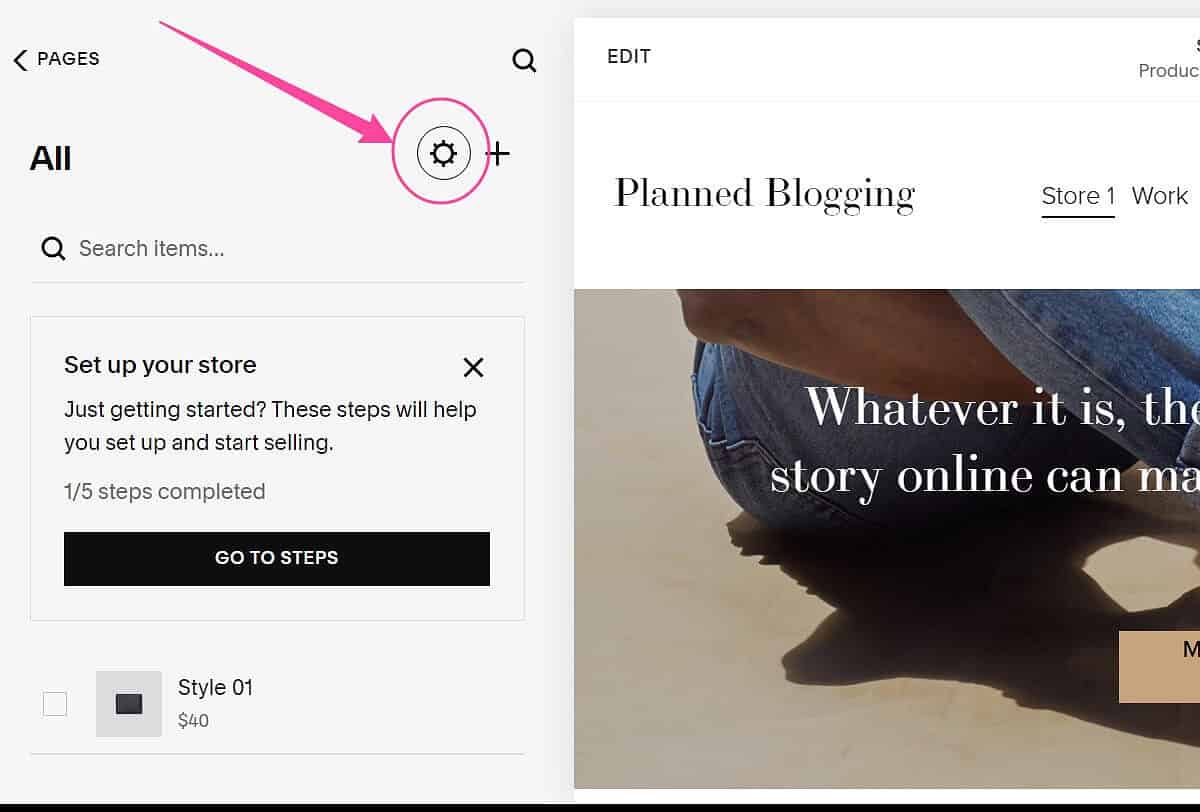
To do this, click on the gear icon to open the edit screen.
The details that you need to edit include your storefront name, status, URL slug, categories as well as SEO and social media settings.
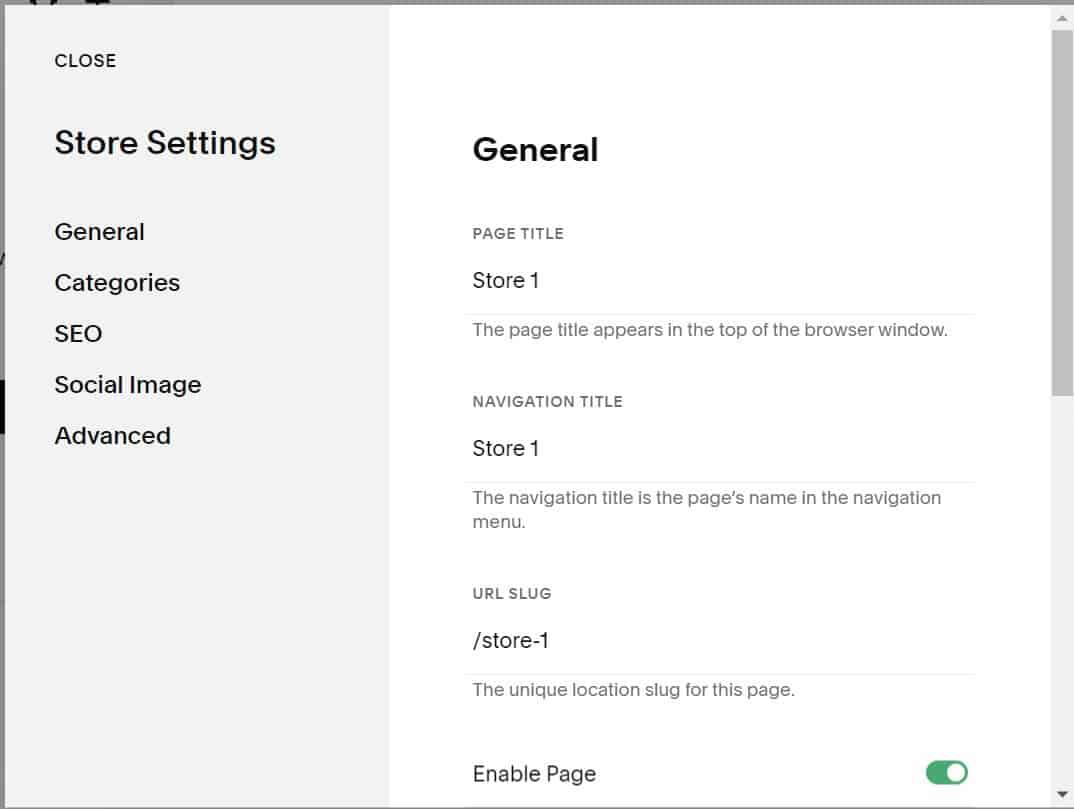
Other settings you need to implement to prepare your website for Printify integration include payment methods and shipping details.
3) Set up your Store Currency
To set your payment methods, navigate to the Commerce tab from your site dashboard.
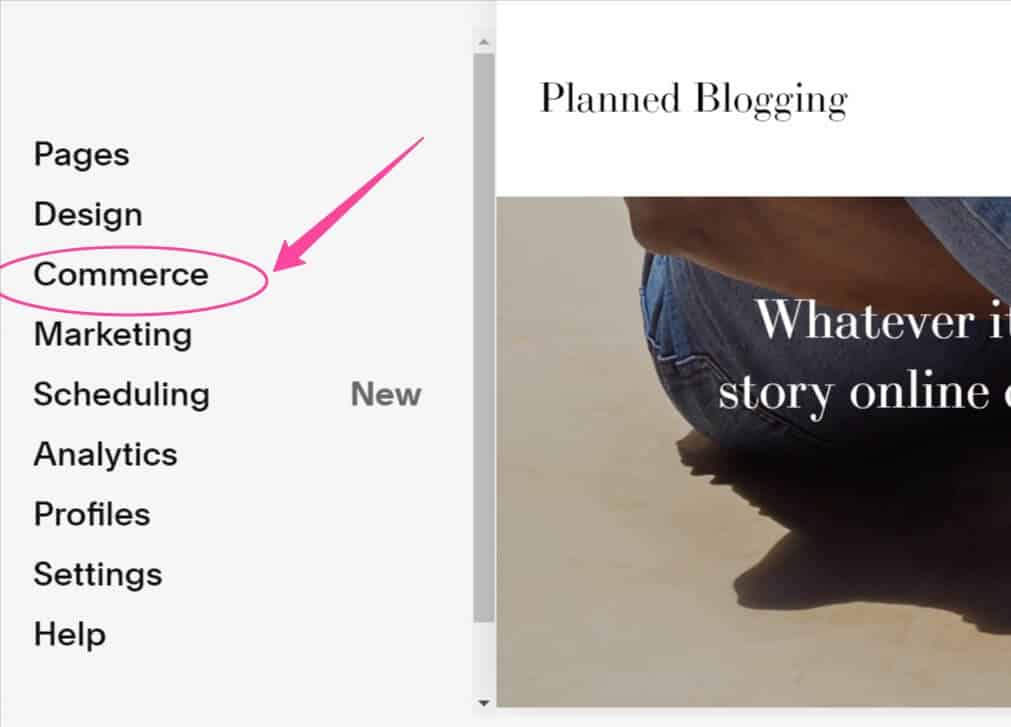
Clicking this tab opens a dropdown menu where you can configure all the commerce settings for your website, including orders, inventory, selling settings, notifications, and other basic setup settings.
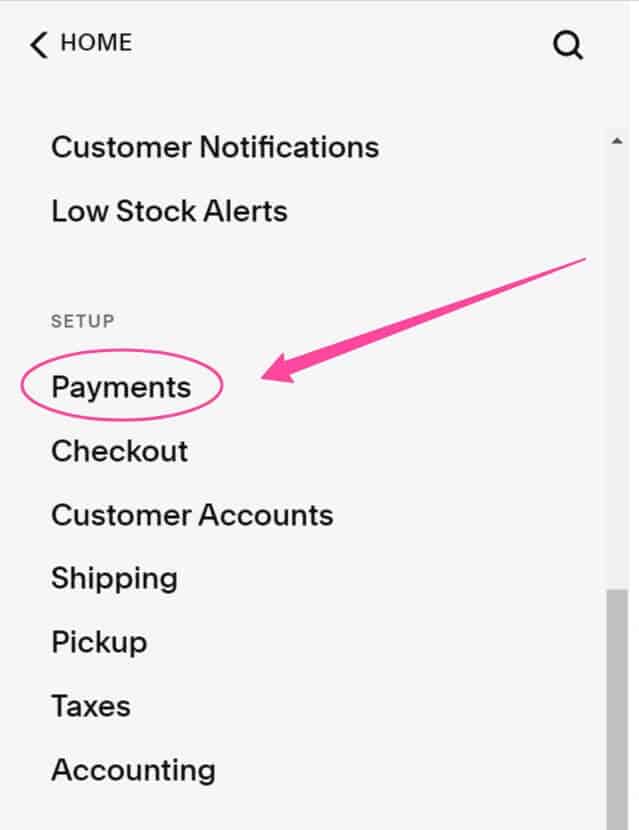
From this menu, scroll down to the setup section, and click on payments to choose your payment processor and set up your currency.
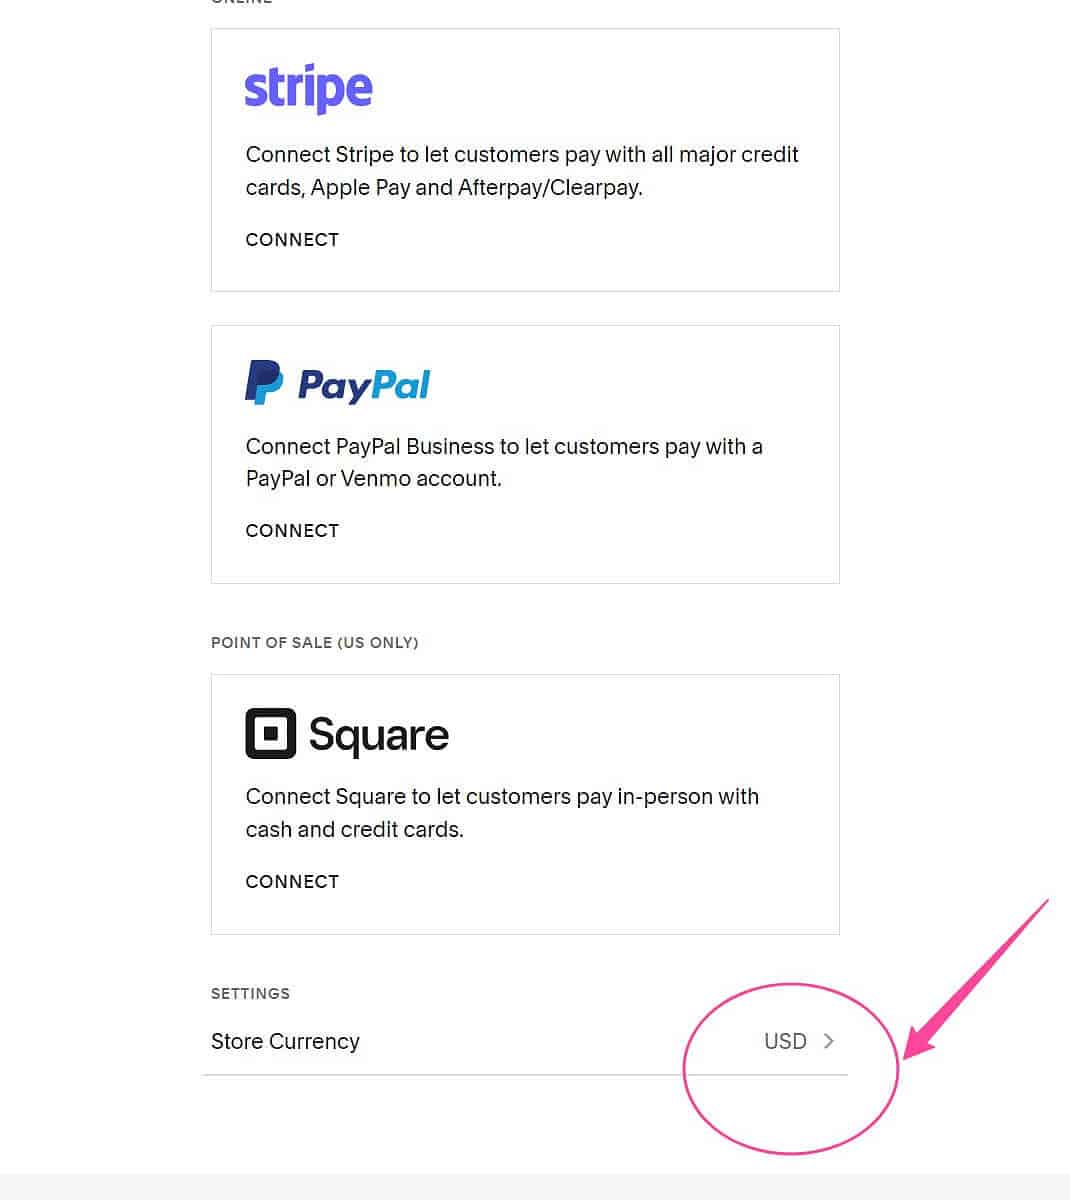
Here, you can connect your payment processor of choice. At the end of this page is the option to change your store currency.
Tab or click on the default currency at the bottom right of the page to open up configuration settings.
This opens up a pane that looks like this:
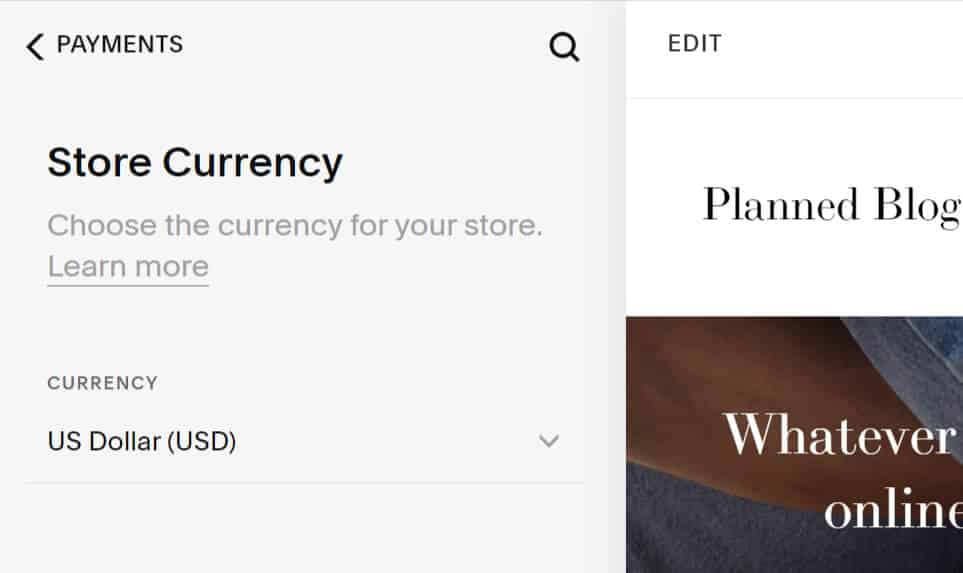
Simply tab the default currency to open up a dropdown menu containing all the major currencies.
Select the currency you want to use and save your settings
4) Set up Store Shipping Options
To configure your store shipping details, you can navigate to the commerce tab, then scroll down to the setup section and click on shipping. Here you can set up shipping options.
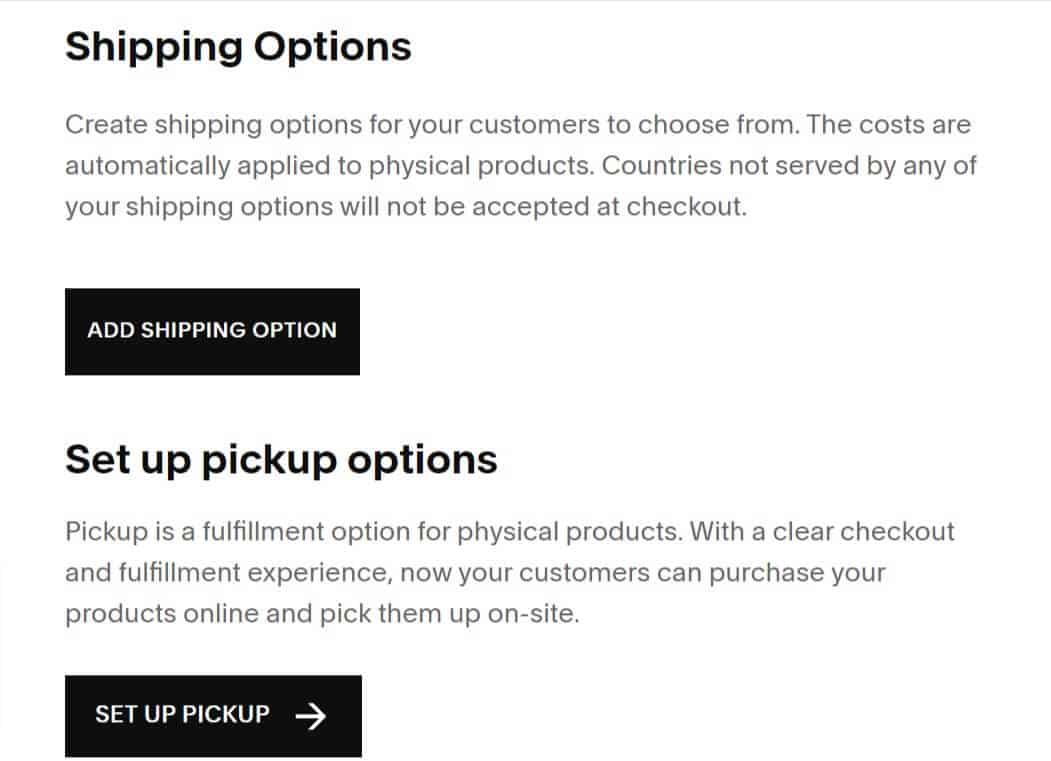
If you want to set up a shipping fee that covers your Printify shipping costs, then you add it as a flat fee here.
However, I recommend offering free shipping and adding the shipping cost to your product pricing at Printify.
To do this, click on shipping options, and then choose the flat rate and update your settings accordingly.
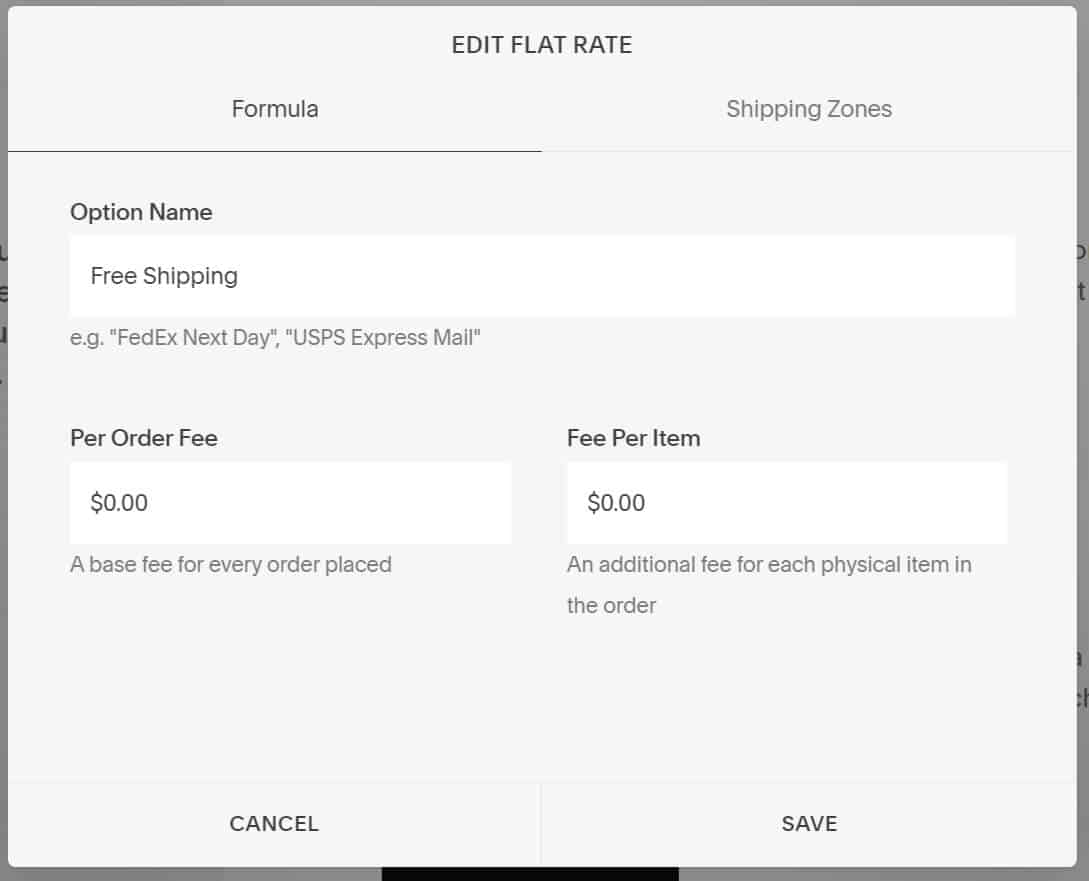
Your store is now fully ready to be linked with Printify
Set up Printify for Squarespace Integration
5) Access Your Printify Stores Section
First, log in to your Printify account, and navigate to your stores’ section.
To access the Printify stores section, click on your profile image from the top navigation, and then navigate to My Stores from the dropdown menu.
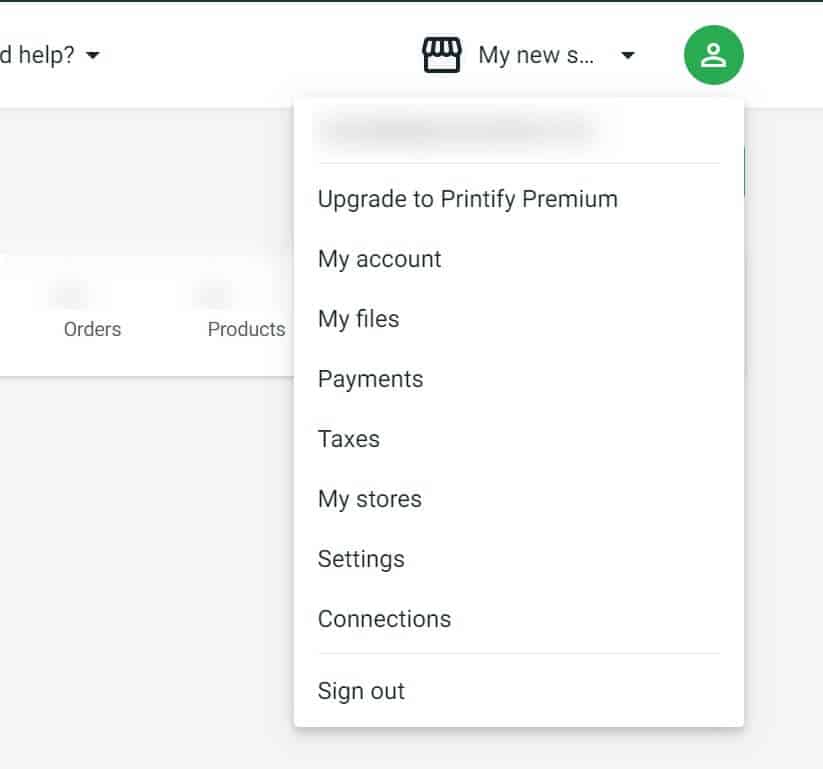
6) Set up your Printify Store
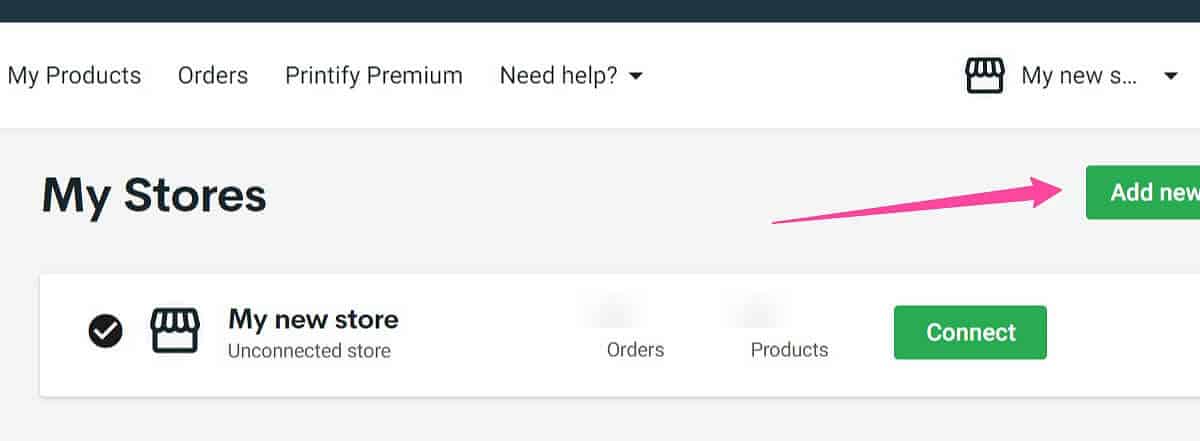
Here, you have two options: use an existing store, or set up a new one.
If you have an existing store with products already listed, then go ahead to use that store. However, if you want to use a different store, then you can easily create a new one by clicking on the My Stores from the profile drop-down menu, and then clicking the Add New Store button
To prepare your store for Squarespace integration, you need to finish the set-up.
To do this, customize the:
- Store Name: To avoid confusion, it helps to have your Printify store name match your Squarespace one.
- Ship from address and
- Store’s preferences
With the ship from address, you can choose to ship from the US (US address), UK (UK Address), or Germany (DE Address).
Also, for each of the above options, you can opt to stick with the Printify default address which sets the ship from the address to the location where the product was printed.
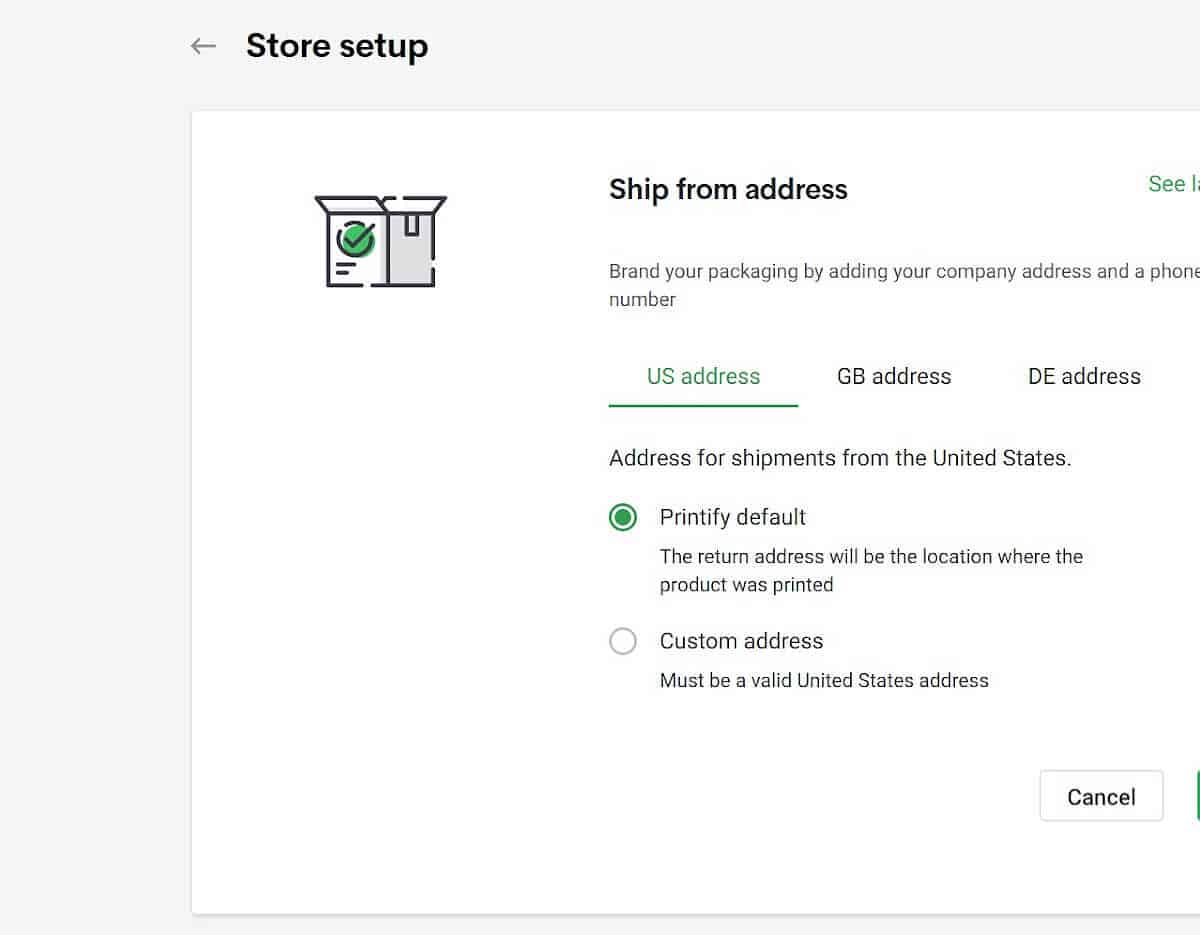
Alternatively, you can set a custom address. Just note that with this option, you can only add valid US, UK, and Germany addresses depending on your selection above.
Integrate Printify with Squarespace
Let’s now begin the integration process, since both our stores are now properly set up.
7) Connect Your Store with Squarespace
To connect your store, navigate to your store’s dashboard, and click on the Connect button on the right side of the store name that you want to link to Squarespace.
A number of possible integrations show up on the next page, including Shopify, Etsy,eBay, Woocommerce, Squarespace, API, etc.
Scroll down until you see the Squarespace option, and click on the connect button adjacent to it to begin the integration process.
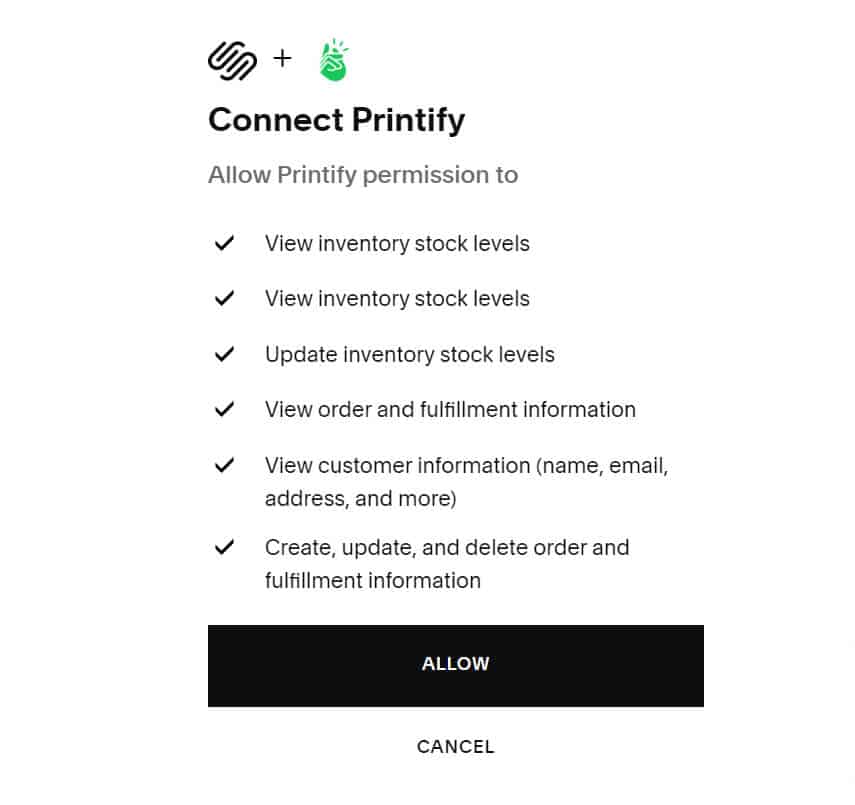
You will be prompted to authenticate the integration. Make sure you are logged in to the Squarespace account you want to use. On the next screen, simply click on the Allow option.
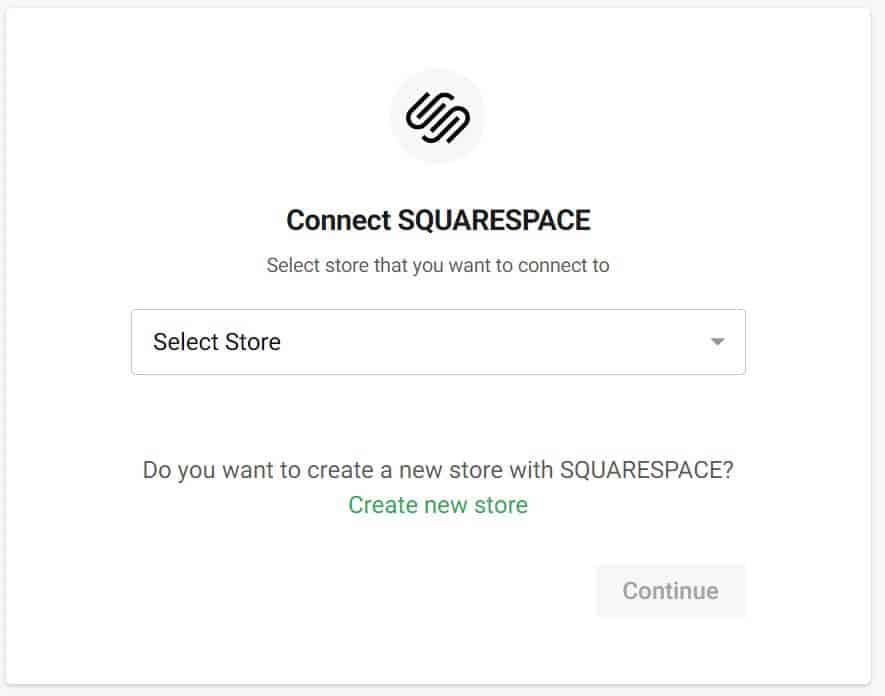
Next, you will be prompted to select the Squarespace store that you want to connect to.
Choose the one you created in step one of this article. And then press continue to finish the integration process.
And that’s it.
You will see a prompt like this: Sucess! You connected a Squarespace store!
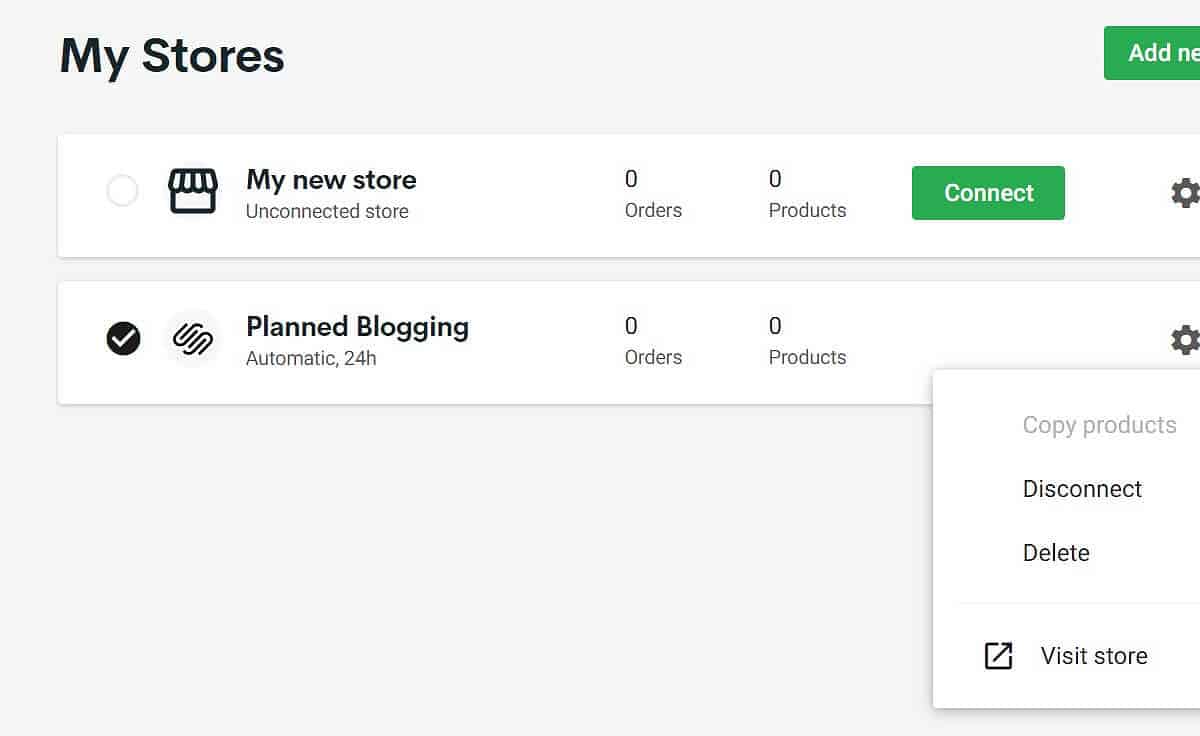
If you click on the three dots at the far right of your connected store name from the My Stores page, the external Visit Store link is now active and points to your newly connected Squarespace page.
Publishing Printify Products to Squarespace Store via the Integration
At this point, the integration is complete and you should be able to publish your products directly to your Squarespace website via the integration.
Let’s see how:
8) Create Products for your Squarespace linked store
With Printify, it is likely that you will have several stores.
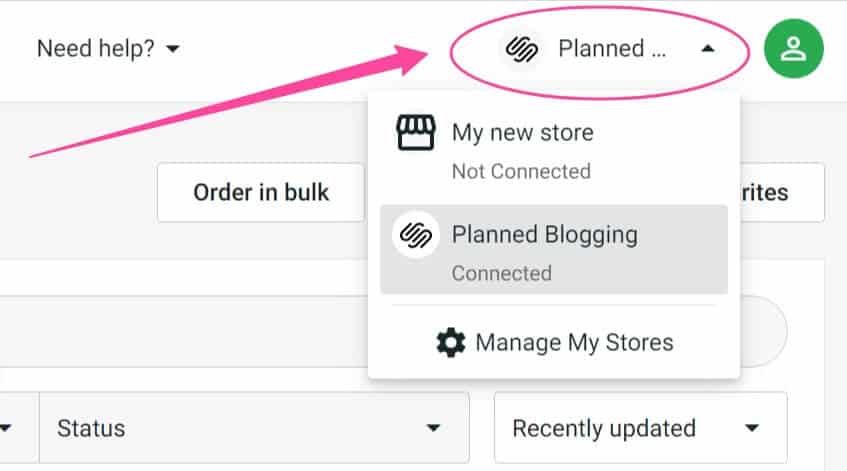
To ensure that you are publishing to the correct store, make sure to navigate to the right store from the top navigation:
Once you are on your store dashboard, click on browse products to see the options available for you.
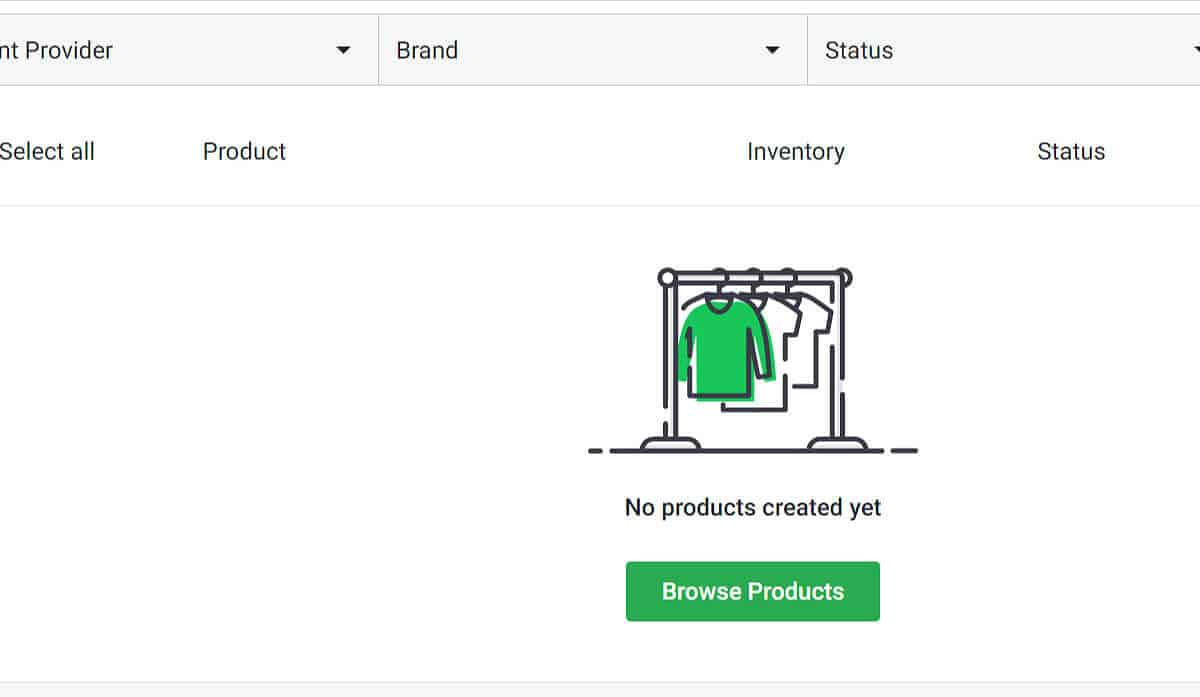
For now, let’s pick the Women’s V-neck running shirt. Clicking on this takes us to a detailed page where you can learn more.
Scroll down this overview page until you see the button: Start designing. Click on it to start customizing your product.
On the customization screen, you can upload your designs, add texts, etc.
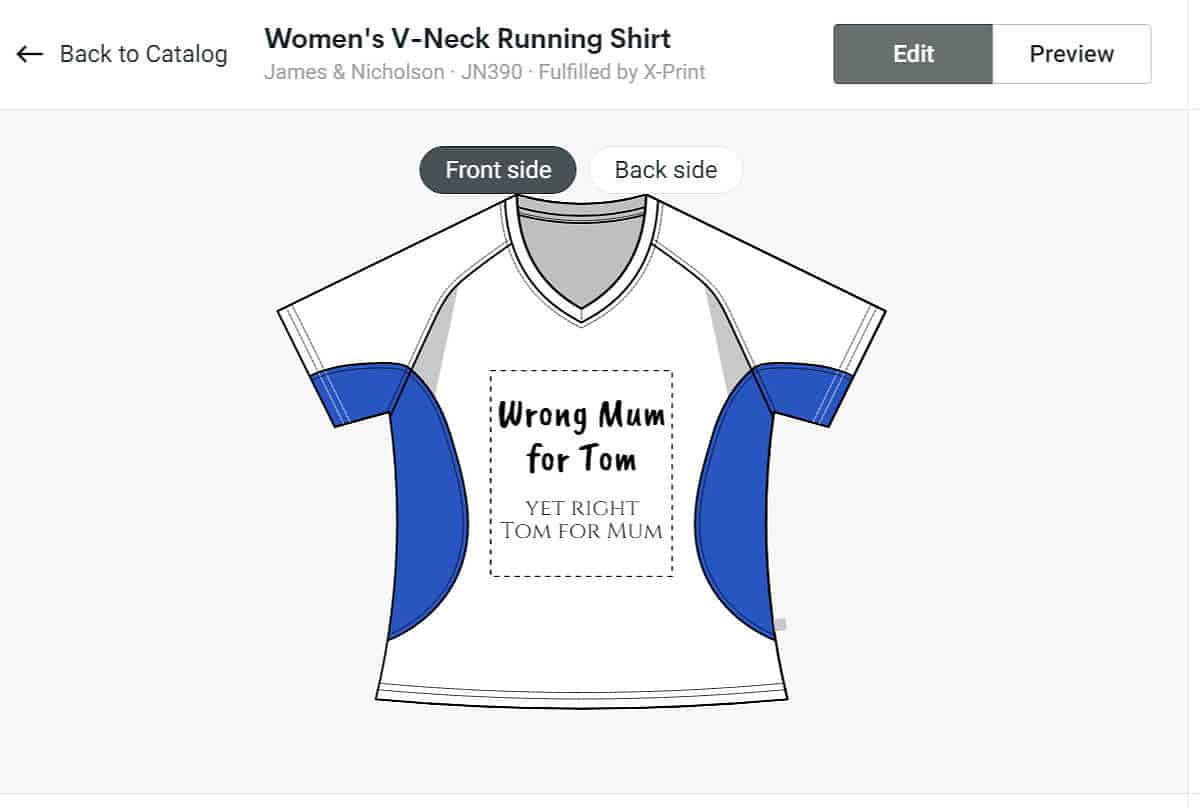
Play around with the elements till you have the perfect design for your product. Once done click on the Save product button at the bottom right of the design page. You are directed back to your store’s products page.
Your product has been saved, but not published yet. So it won’t show up on your Squarespace. This is a good thing, because there are some settings and further customizations you may need to make before hitting publish.
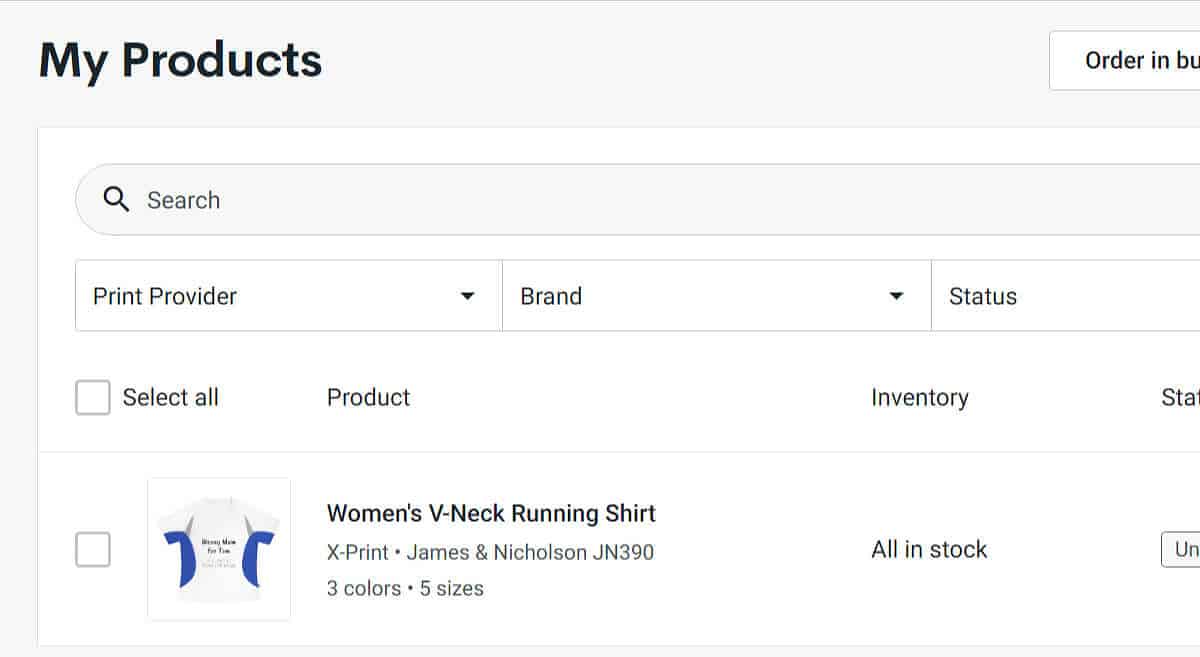
Of critical importance, are your product details. To edit them, click on the product name to open up the edit screen.
Here you will be able to change the product mockup (I will choose a person), select your default color variation if any, your product title, product description, as well as the store page where you want to sync to.
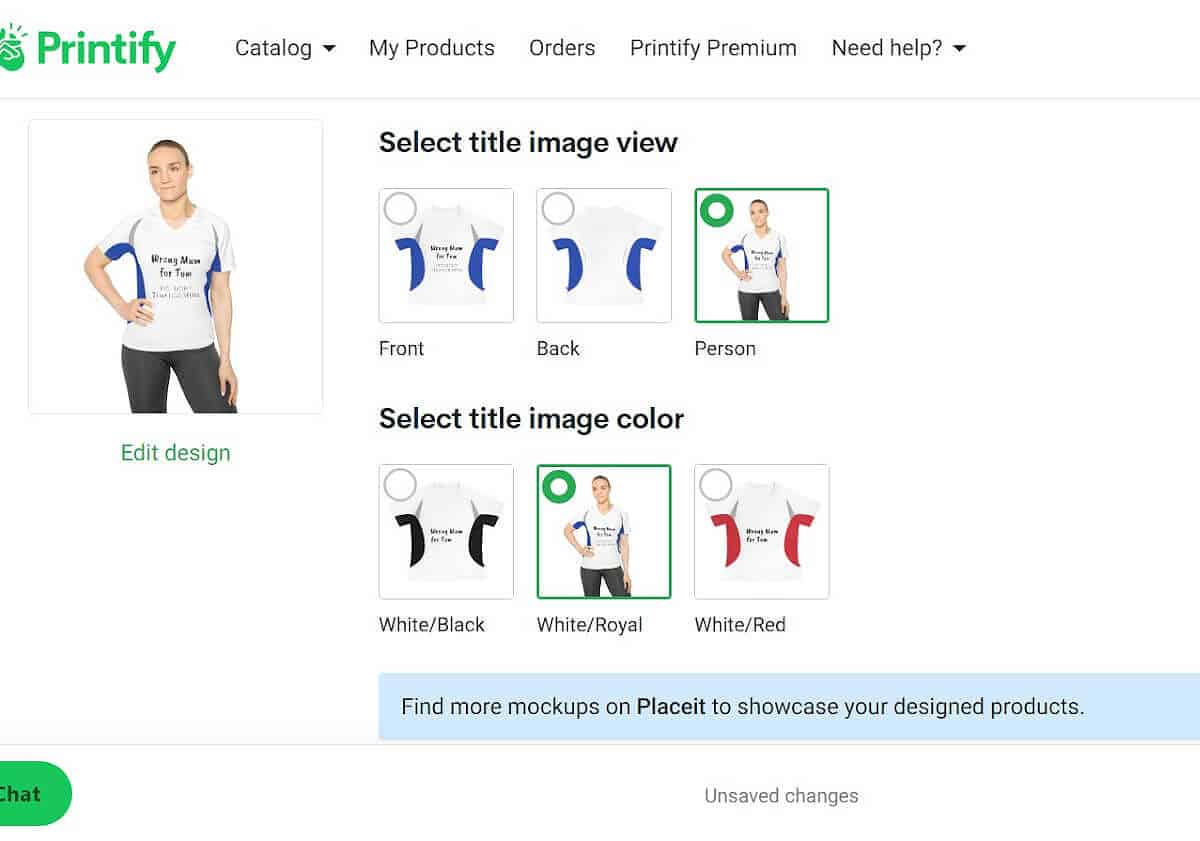
9) Publish your product
Once you’ve set up everything, simply click on the publish button that is dorked to the bottom of the screen.
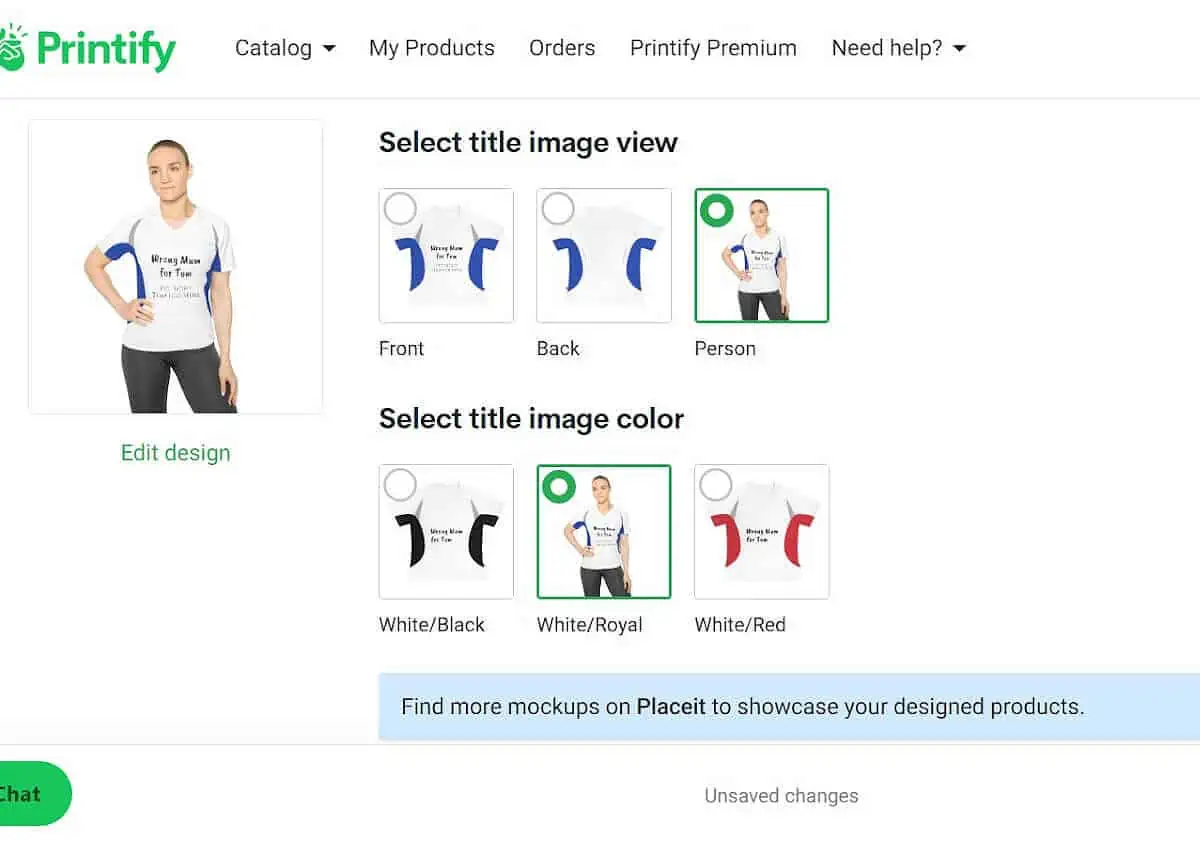
Printify takes a few minutes to sync the product to your Squarespace website. Once completed, the status on your product changes from Publishing to Published.
Next head over to the Squarespace store to ensure that everything looks great.

Managing your Printify-integrated Squarespace Store
When running a store integrated with Printify, you want to make sure that all of your product details are uniform across the two stores. Since we are syncing from Printify to Squarespace, it’s a good practice to only make edits from within the Printify dashboard.
I admit the Squarespace edit screen is much more intuitive and can be tempting to simply hop in and make that edit, but for consistency, don’t. Instead, open your Printify account, and make product updates from there.
Printify Squarespace Integration FAQs
What Printify Product Details Syncs with Squarespace?
Printify syncs Product titles, Product Descriptions, Product mockups, and other details such as colors, prices, sizes, and SKUs.
What Squarespace plans do I need to use the Printify integration?
To use the Printify integration, you will need the plans that support Print on Demand. i.e Business, Basic Commerce, and Advanced Commerce plans.
Is Printify Squarespace integration free?
Yes. To use the integration, all you need is a free Printify account. This isn’t an add-on that you have to pay extra for.
Ready to Try Printify Squarespace Integration?
Great, grab your free account of Printify here. If you don’t have a Squarespace account, then you can start off with 14 days trial.
